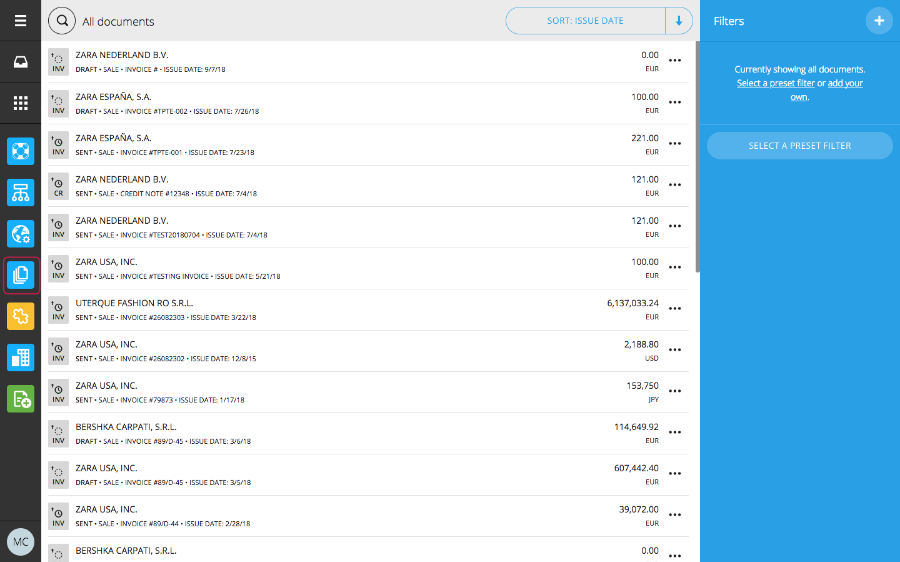
The following walkthrough describes how to:
- Create an invoice directly in Tradeshift
- Send the invoice to the customer for review and acceptance
Step 1) Navigate to “create documents” in the left-hand menu:
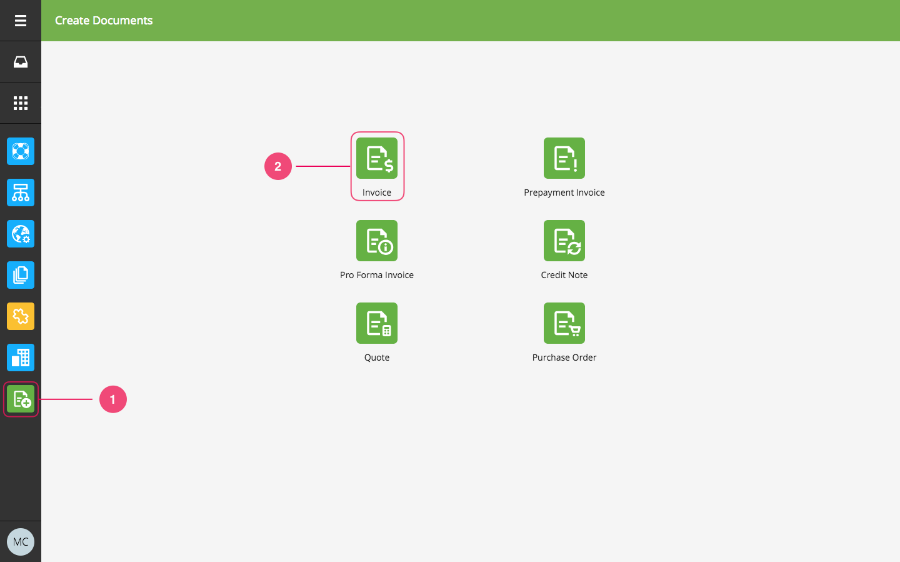
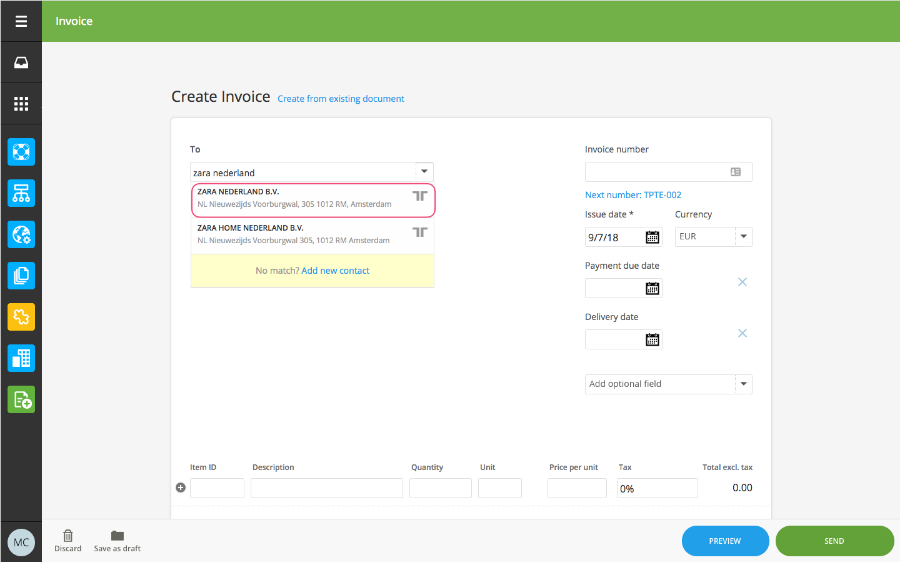
Step 2) This creates a blank invoice form, with the Invoice number following the number series of the previously created invoice.
Select customer branch to invoice:
The system will retrieve the customer details and add them to the invoice:
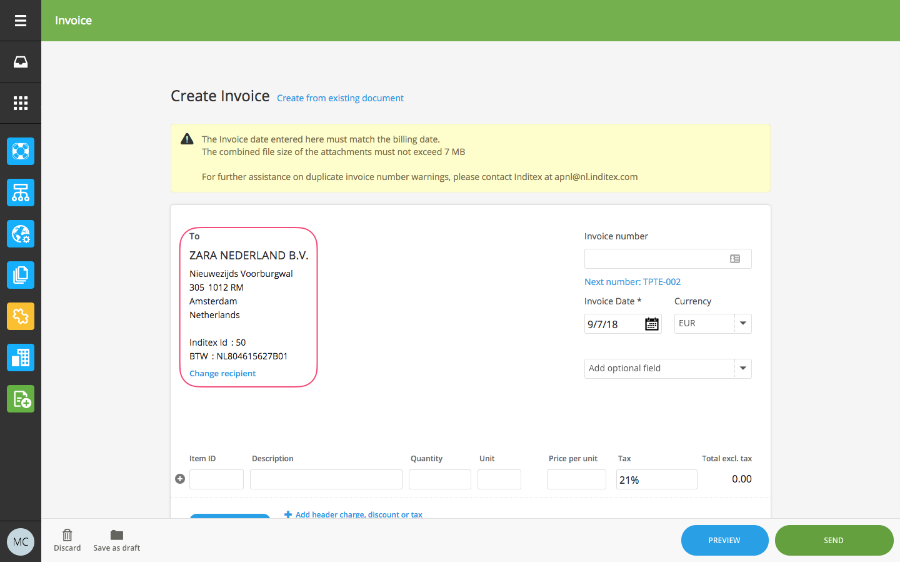
Step 3) Complete the remaining invoice details, and note that fields marked with an * are mandatory:
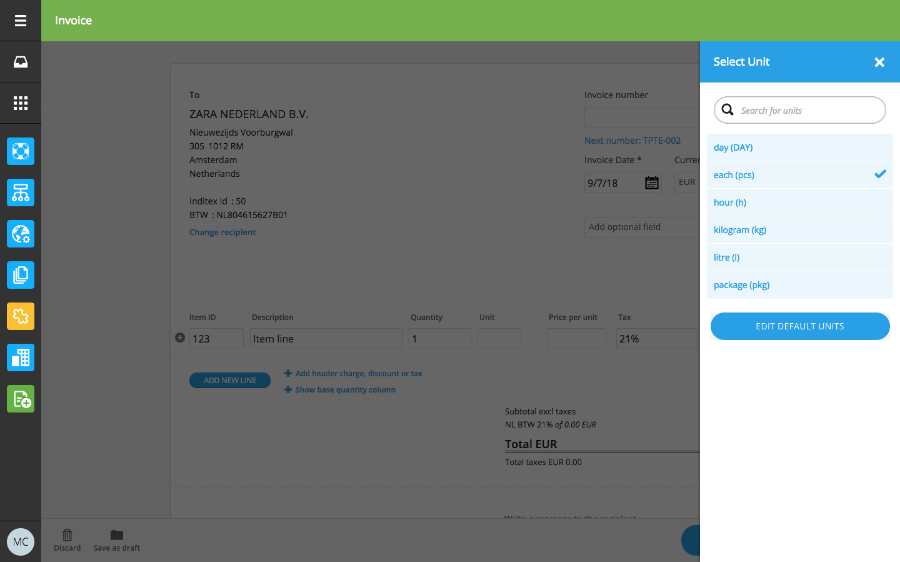
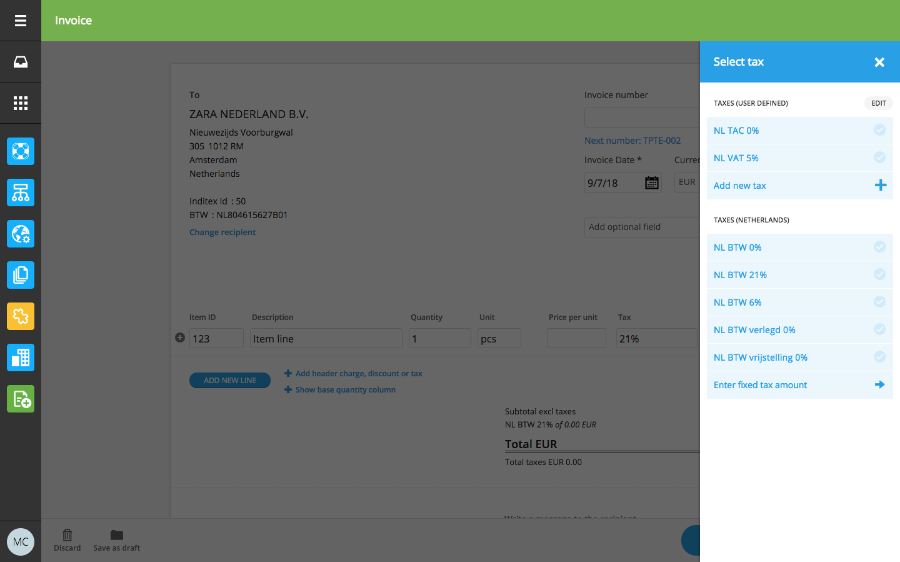
Remember to select the right tax rate for each item line, and in circumstances where taxes are not applicable, you still need to select “US Non-Taxable 0%” option (applicable mainly for US based suppliers)
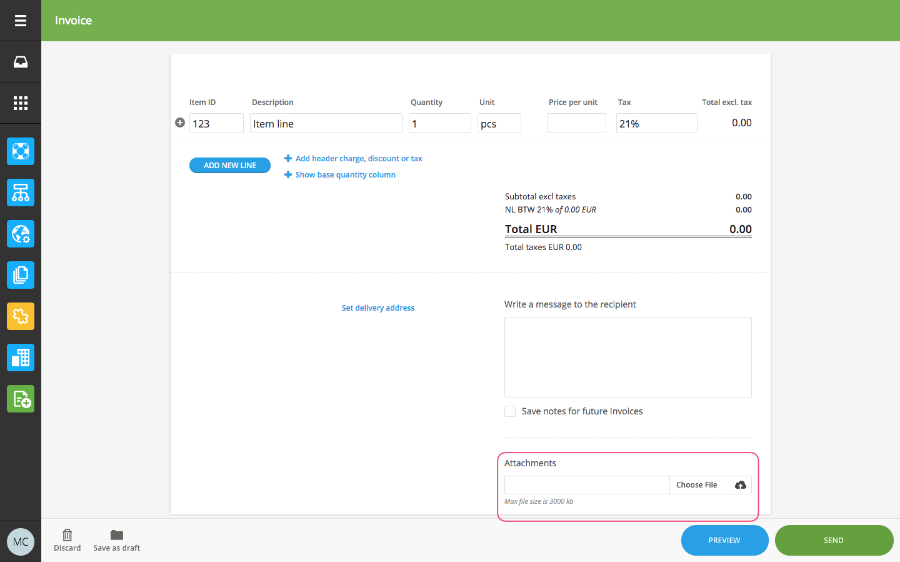
Important note: Inditex does not require line level detail in the electronic invoices that are submitted to their business entities. So it is sufficient to have one summary invoice line with the total invoice amount and tax amount, as this practice speeds up the process. The PDF invoice can then be added manually as an attachment, as shown in this step.
Step 4) If you have an original invoice or other documents, they can also be attached:
Step 5) Once you are satisfied that all information is correct, send the invoice to the customer
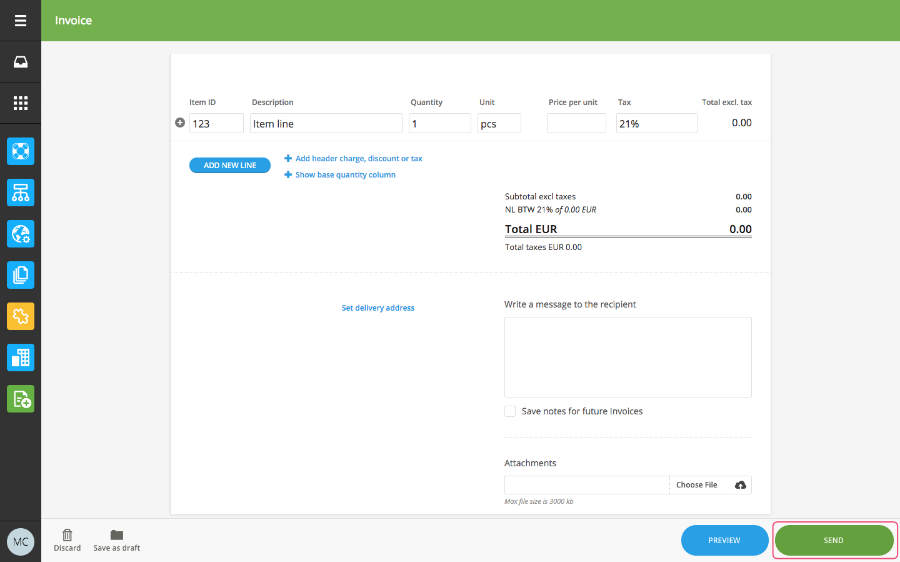
The invoice has now been forwarded to the customer for review and acceptance.
Step 6) All documents can be viewed in the document view from the left-hand menu:
